Table of Contents
Emergency Console Login
Tip: If the TetherBox is reachable over the network, use the offline interface to configure network settings — it is simpler and safer than the steps below.
Danger: This guide is for TetherX support use only. Operating-system-level changes can permanently damage the TetherBox firmware. Only follow these steps when explicitly requested by a member of the TetherX support team. Incorrect commands may require returning the unit for repair.
This guide explains how to gain emergency command-line access to a TetherBox for manual troubleshooting when standard methods are unavailable.
Gaining Emergency Login
Step 1: Reboot the TetherBox
Connect a monitor and keyboard to the TetherBox, then reboot the unit.
Step 2: Access the GRUB Menu
Before the operating system boots, the screen shows the GRUB menu for a few seconds.
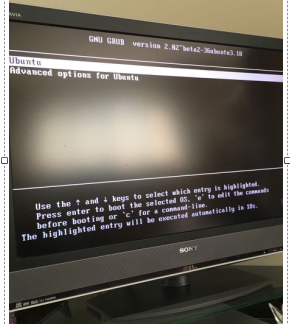
Step 3: Select Advanced Options
Use the down arrow key to highlight Advanced options, then press Enter.
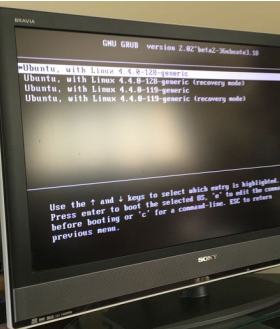
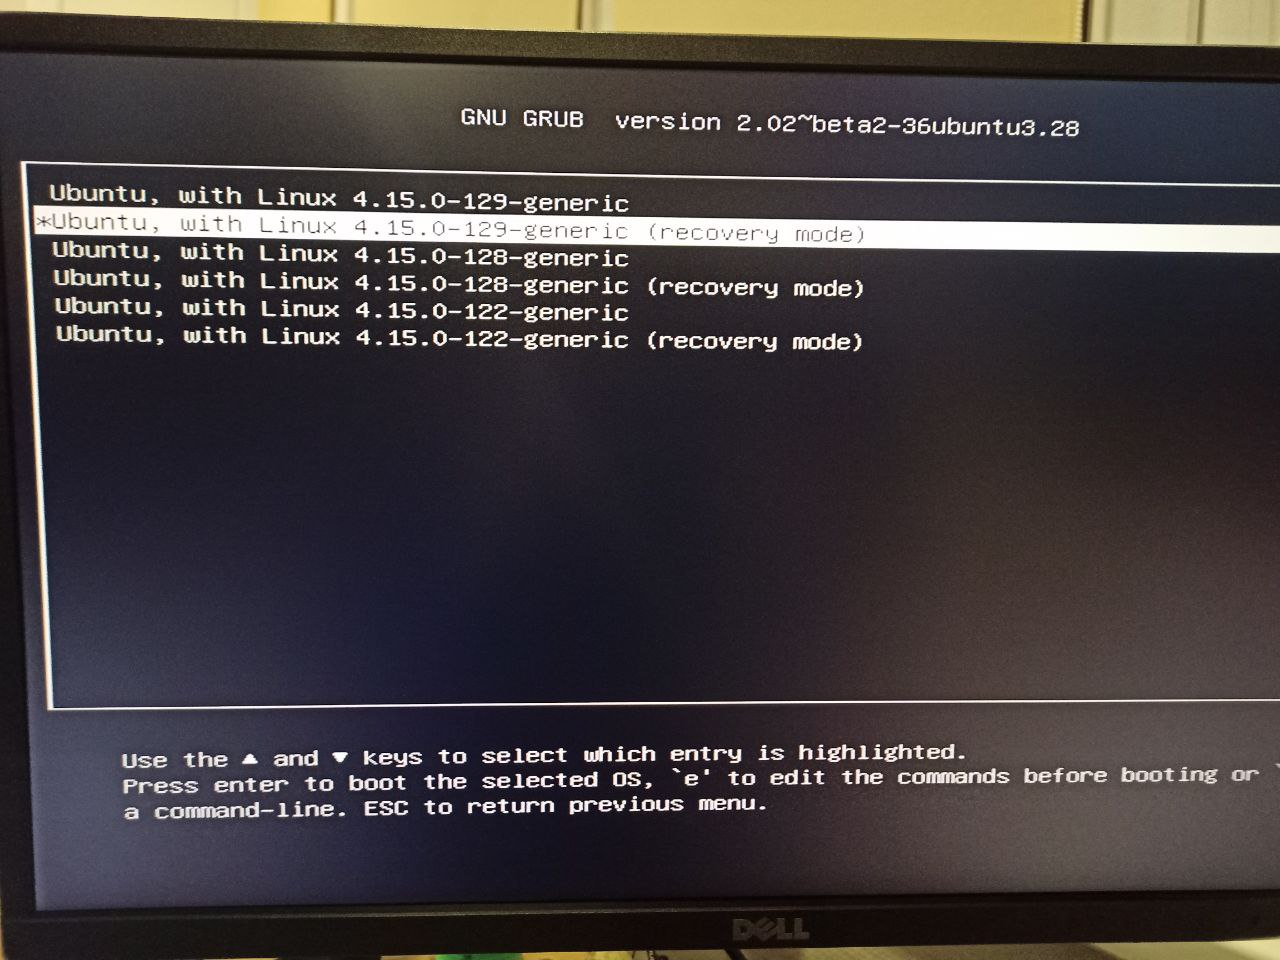
Step 4: Select Recovery Mode
Use the down arrow key to highlight the first row containing recovery mode, then press Enter.
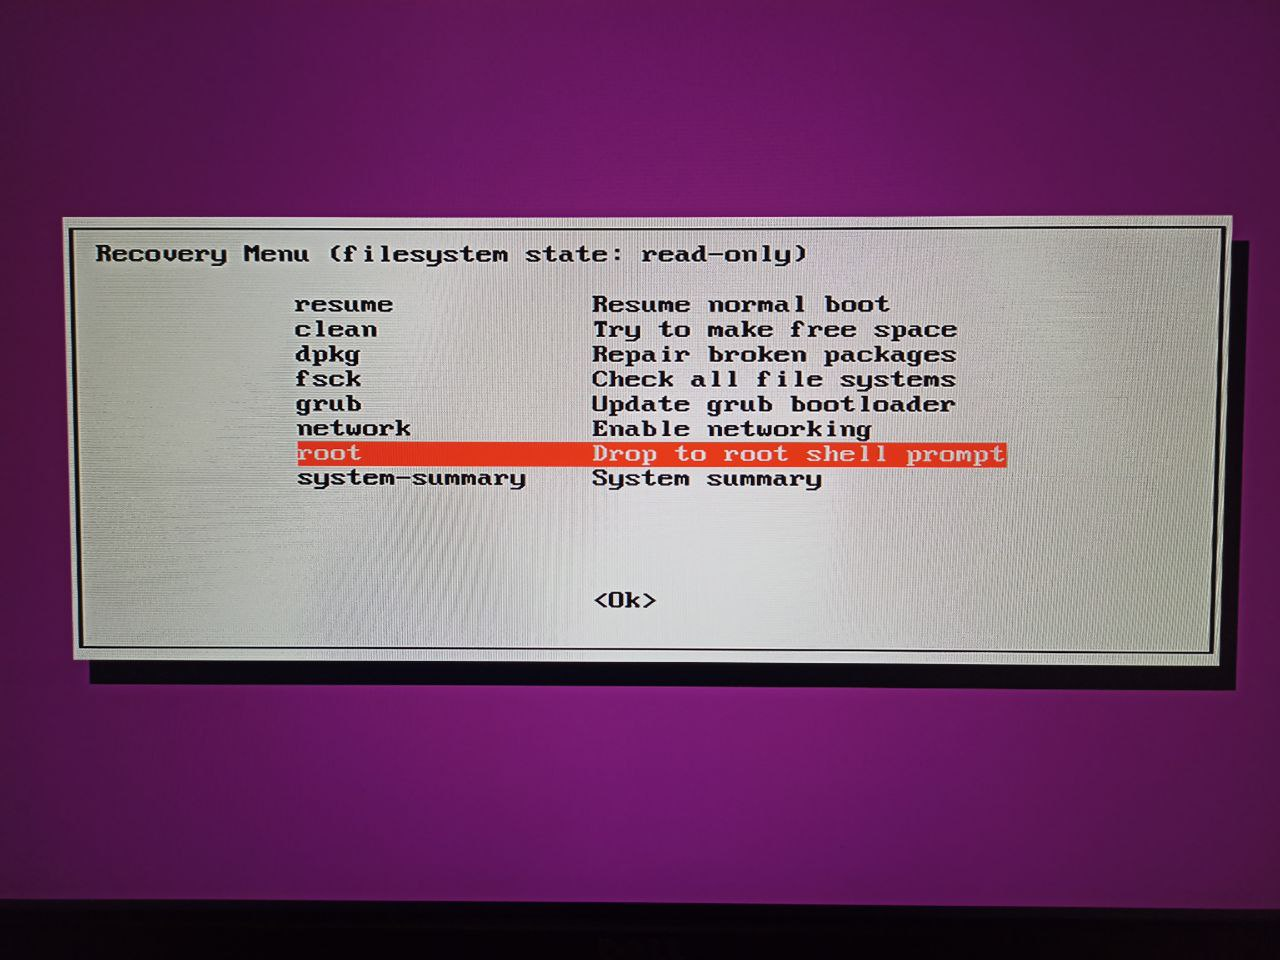
Step 5: Drop to Root Shell
Depending on your firmware version, you may see one of these options:
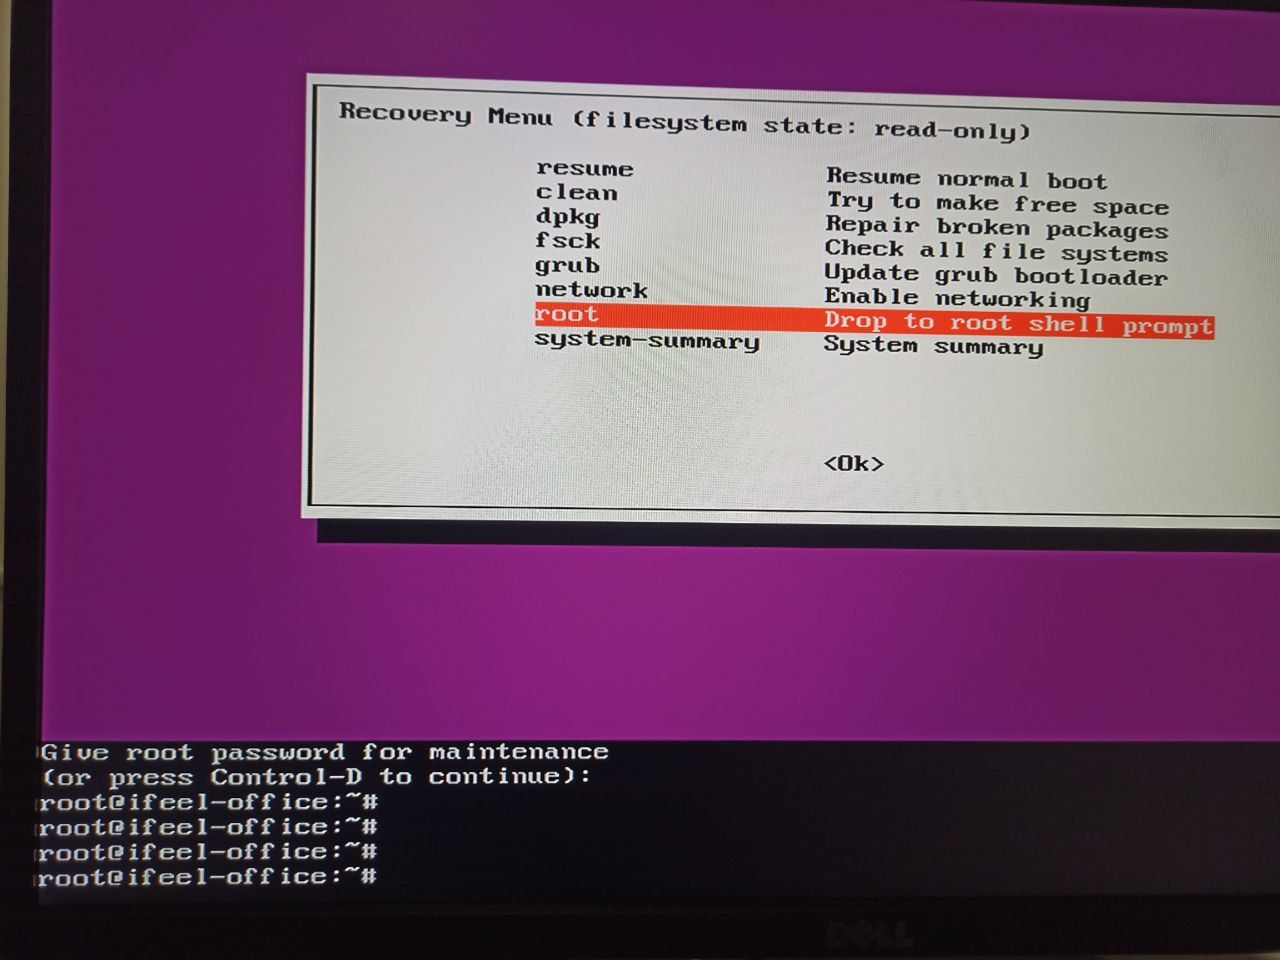
Option A: If you see a Recovery Menu, select root - Drop to root shell prompt and press Enter.
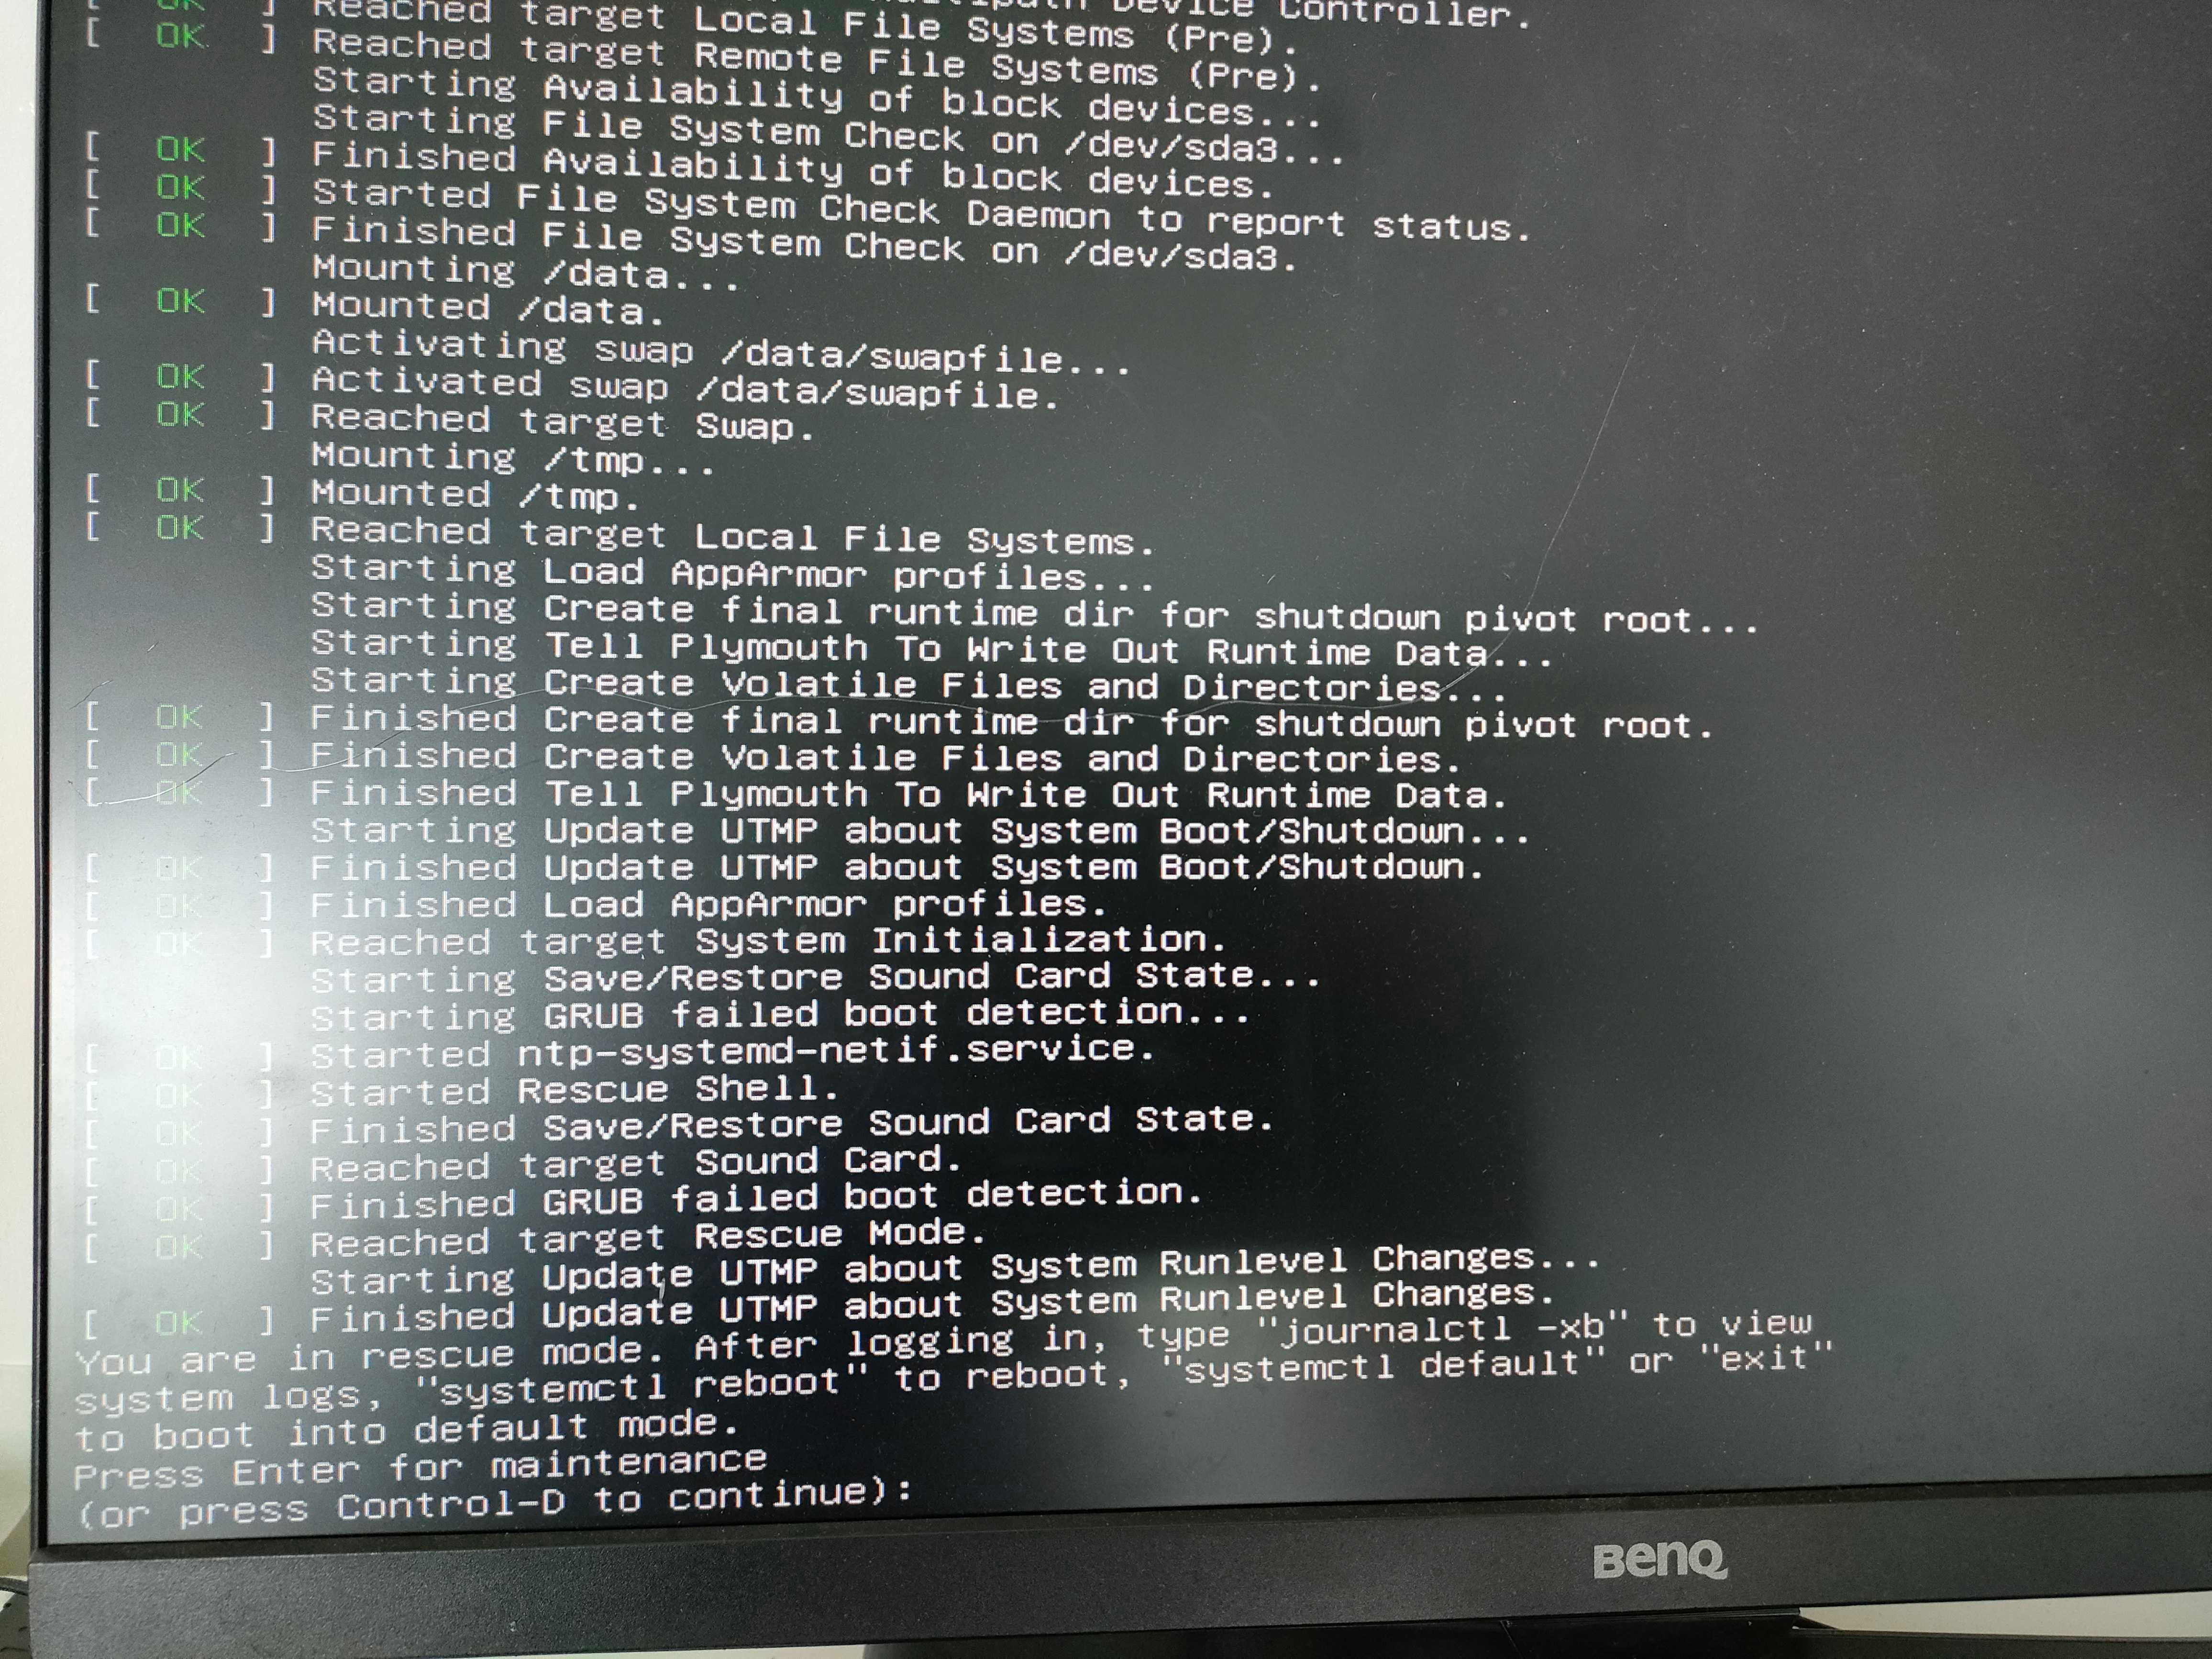
Option B: If you see "Press Enter for maintenance", press Enter.
Step 6: Enter the Root Password
If a password is requested, contact TetherX support to obtain it.
Warning: The root password is unique for every unit and cannot be reset remotely.
You now have root shell access to the TetherBox.
Manual Network Configuration
Once logged in, you can manually configure network settings to bring the unit online.
Test Network Connectivity
First, try pinging your router to check connectivity:
ping -c4 192.168.2.1
Replace 192.168.2.1 with your router's IP address.
Possible results:
| Result | Meaning |
|---|---|
| "Network is unreachable" | No IP address assigned |
| 100% packet loss | Has IP but on wrong subnet |
| 0% packet loss | Network working correctly |


Warning: The examples below use the enp0s3 interface. Your interface name may differ - check with ifconfig -a and replace enp0s3 with your actual interface name.
Option 1: Get IP from DHCP
Use this method if your network has a DHCP server (most common).
1. Check current interface status:
ifconfig -a
If no inet line appears, the interface has no IP address.

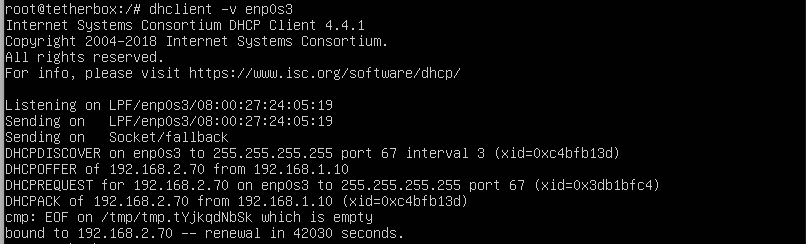
2. Request an IP address from DHCP:
dhclient -v enp0s3
Tip: Ensure your router is powered on and the TetherBox is connected via Ethernet.
3. Verify the IP was assigned:
ifconfig
The inet line should now show an IP address.

Option 2: Set Manual IP (Temporary)
If DHCP is unavailable, configure a temporary manual IP address.
1. Assign IP address and subnet mask:
ifconfig enp0s3 192.168.2.70 netmask 255.255.255.0 up
2. Set the default gateway:
route add default gw 192.168.2.1

Warning: Replace the IP address, gateway, and subnet mask with values appropriate for your network.
3. Configure DNS:
echo "nameserver 8.8.8.8" > /etc/resolv.conf
4. Verify DNS configuration:
cat /etc/resolv.conf

5. Check the configuration:
ifconfig -a

Option 3: Set Static IP (Permanent)
To configure a permanent static IP, edit the netplan configuration file.
1. Open the configuration file:
vi /etc/netplan/enp0s3.yaml

2. View the current configuration:
The default DHCP configuration looks like this:

3. Enter edit mode:
Press Insert to enter edit mode. -- INSERT -- appears at the bottom.

4. Edit for static IP:
Modify the configuration to use a static IP:
network:
  version: 2
  renderer: networkd
  ethernets:
    enp0s3:
      addresses: [192.168.152.137/24]
      gateway4: 192.168.152.1
      nameservers:
        addresses: [8.8.8.8, 8.8.4.4]
      dhcp4: false
      dhcp6: false

5. Save and exit:
Press Esc to exit edit mode, then type :wq and press Enter to save.

6. Apply the configuration:
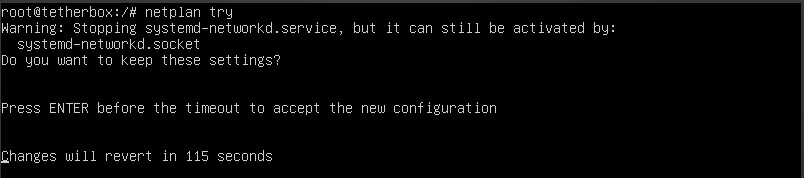
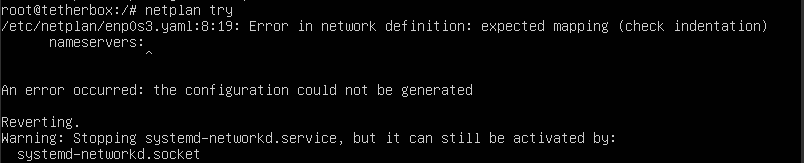
netplan try
If successful, a countdown timer appears. Press Enter to accept the changes.
Warning: If you see an error, the configuration file has a syntax mistake. The error message indicates the line number and issue. Correct the mistake and try again.
Verify Internet Access
After configuring the network, verify the TetherBox can reach the Internet.
1. Check IP assignment:
ifconfig -a

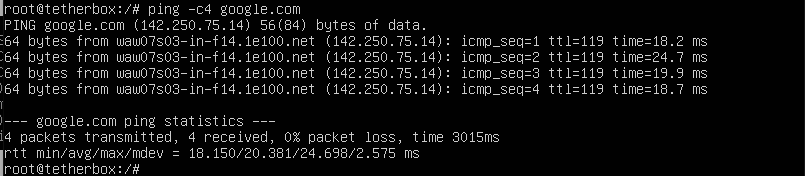
2. Test Internet connectivity:
ping -c4 google.com
All packets should be received with 0% packet loss.
Still Having Issues?
If you cannot bring the unit online, contact our support team with screenshots of the commands and outputs shown above.
Related Articles
- TetherBox Troubleshooting - Diagnose issues using the status page
- TetherBox Went Offline - Step-by-step offline diagnosis
- Connecting your TetherBox to the Internet - Network requirements and setup
Referenced in: