Table of Contents
Hikvision AX Pro Integration
TetherX integrates with the Hikvision AX Pro alarm panel via the Hik-ProConnect cloud service. Once connected, you can arm/disarm your panel remotely and receive real-time alarm Events directly in TetherX.
Why Integrate?
Connecting your AX Pro alarm with TetherX provides powerful capabilities:
- Visual verification - See camera footage alongside alarm events to verify genuine activations vs false alarms.
- Push notifications - Receive instant alerts on your phone with images from your cameras when zones trigger.
- Multi-vendor platform - Manage AX Pro alongside Texecom, access control, cameras, and other equipment in one open platform - no more switching between manufacturer apps.
- Remote control - Arm, disarm, and monitor your alarm remotely through TetherX.
- Smart automation - Create rules that link alarm events to cameras, notifications, and other actions.
Prerequisites
Before you begin, ensure you have:
- AX Pro panel powered on and connected to the Internet
- TetherBox powered on, connected to the Internet, and activated on site
- Hik-ProConnect account with your AX Pro panel already registered
Part 1: Configure Hik-ProConnect
First, authorise TetherX as an Alarm Receiving Centre (ARC) in your Hik-ProConnect account.
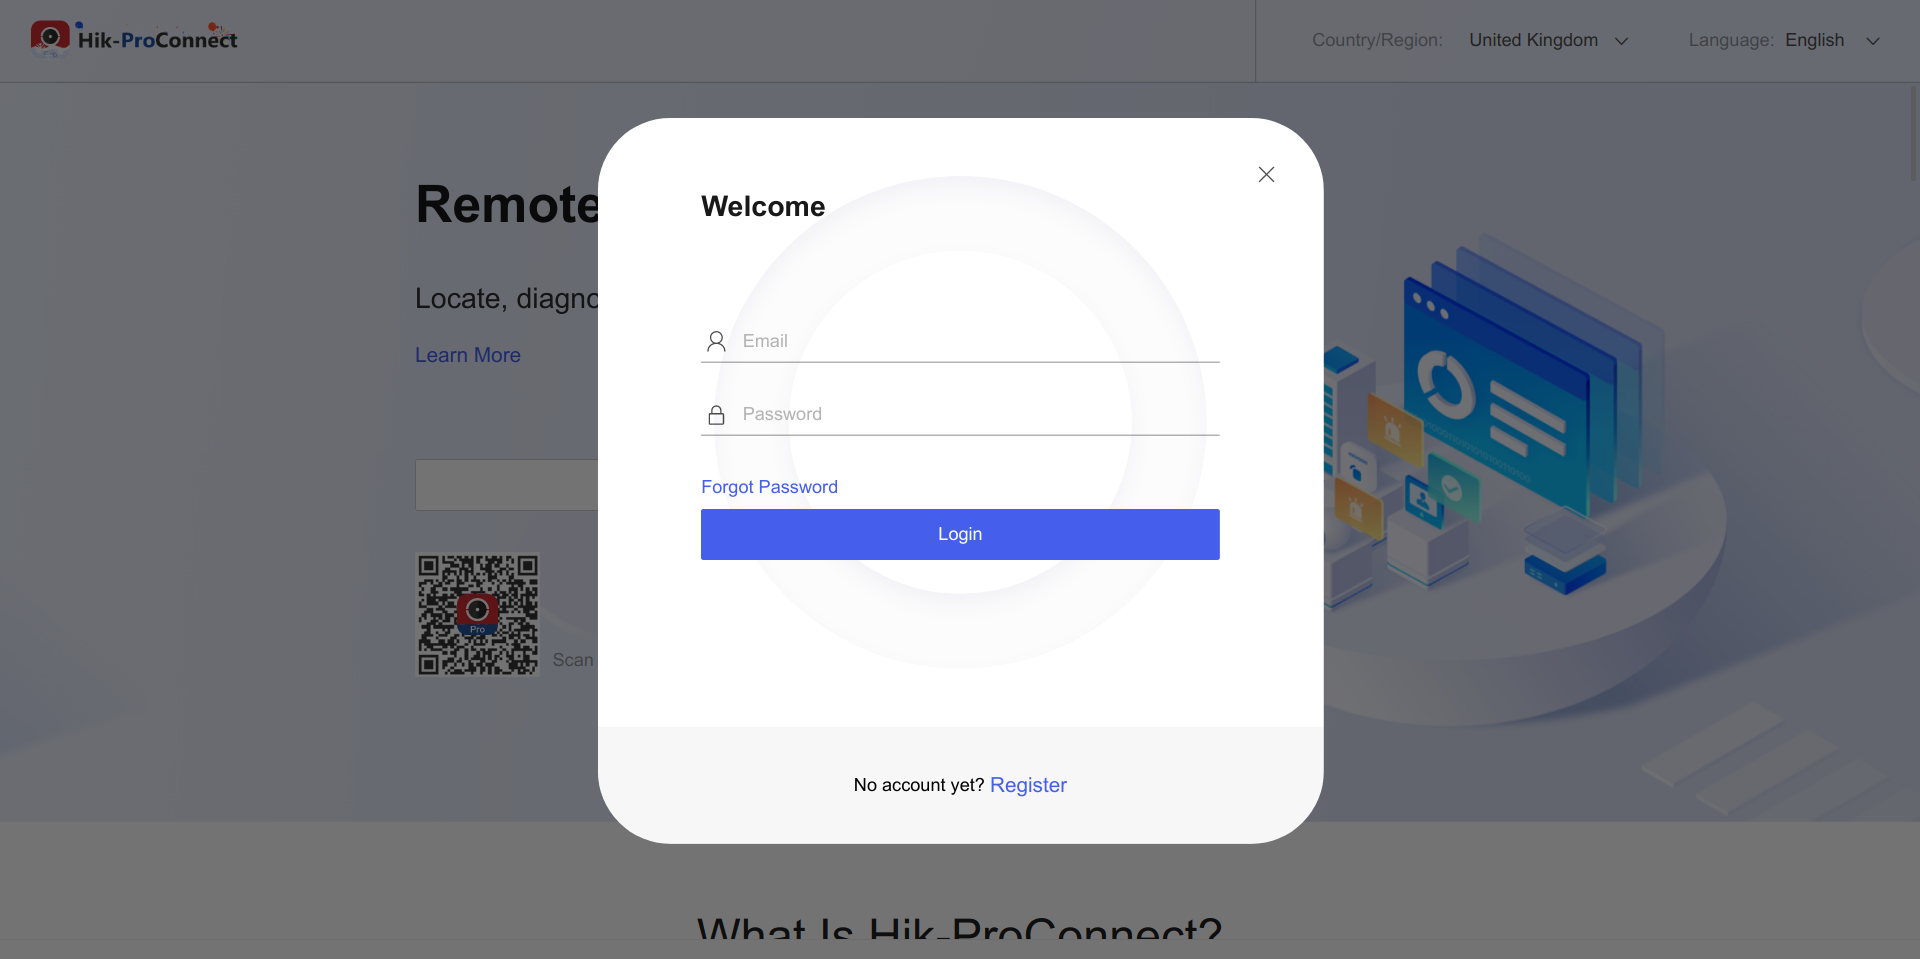
Open Hik-ProConnect
Open the Hik-ProConnect app on your phone, or log into the Hik-ProConnect website.
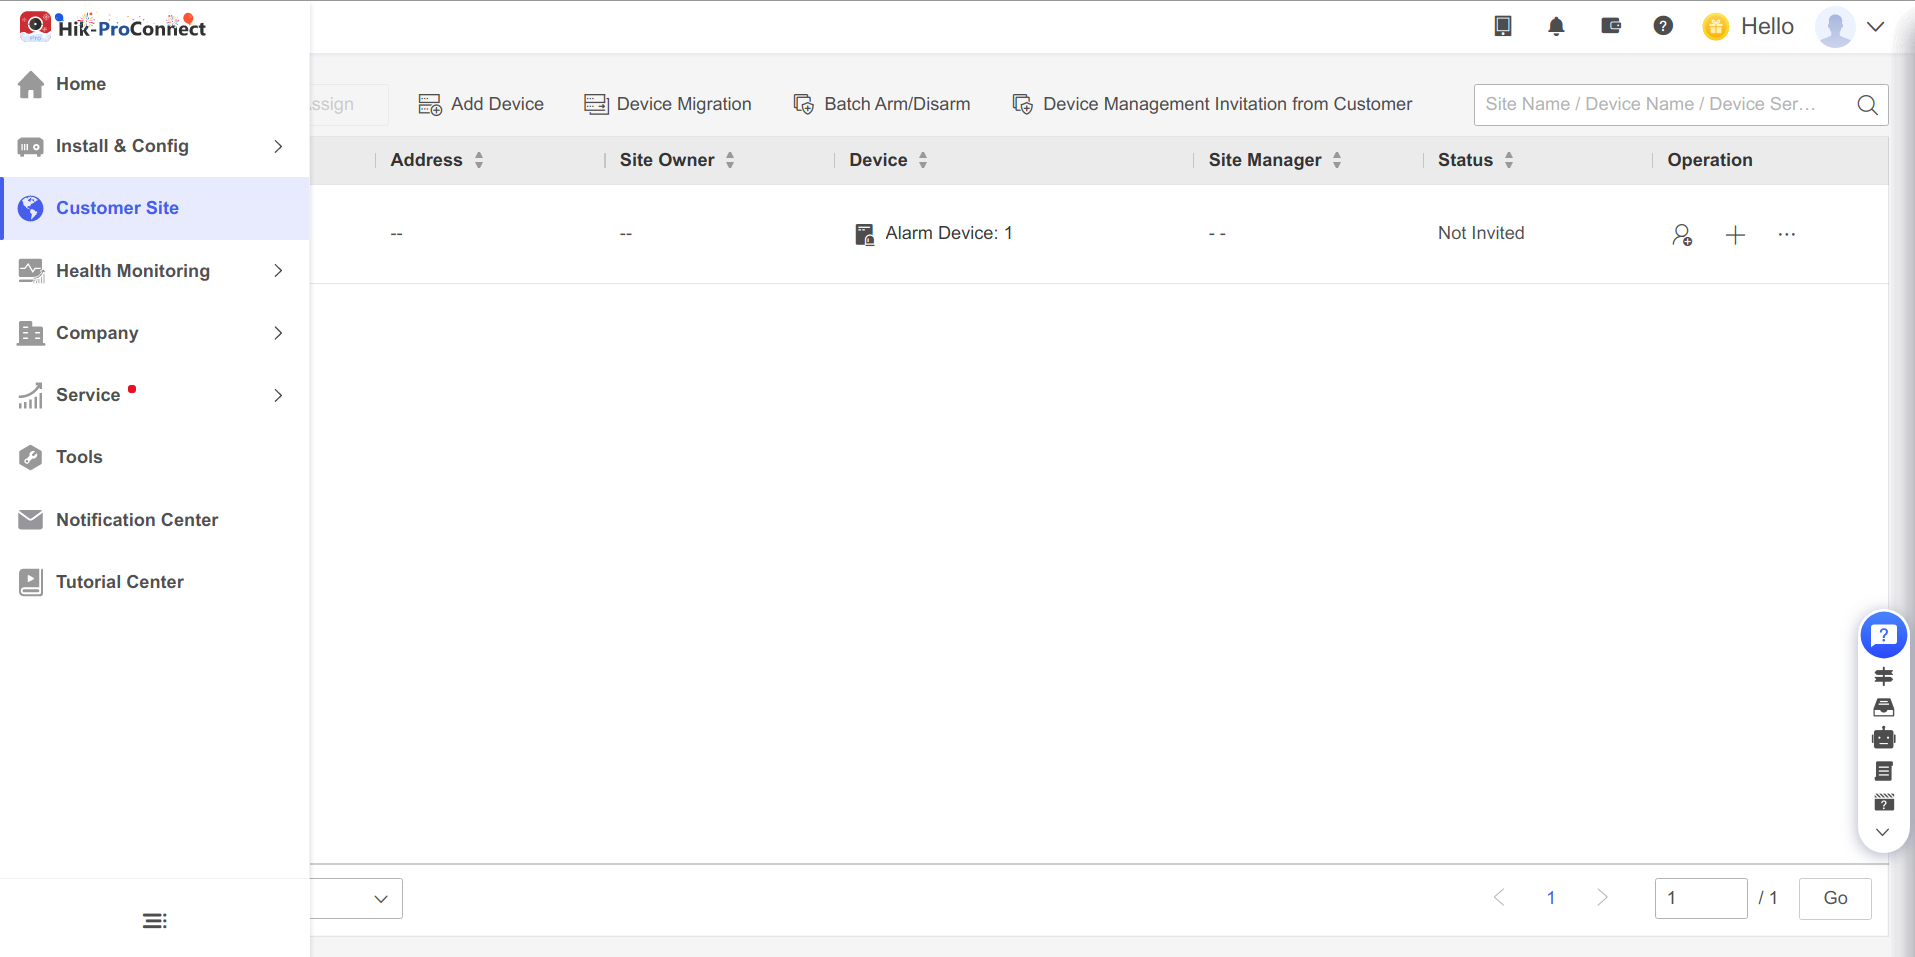
Select your Site
Click Customer Site in the left menu, then open your site with the AX Pro panel connected.
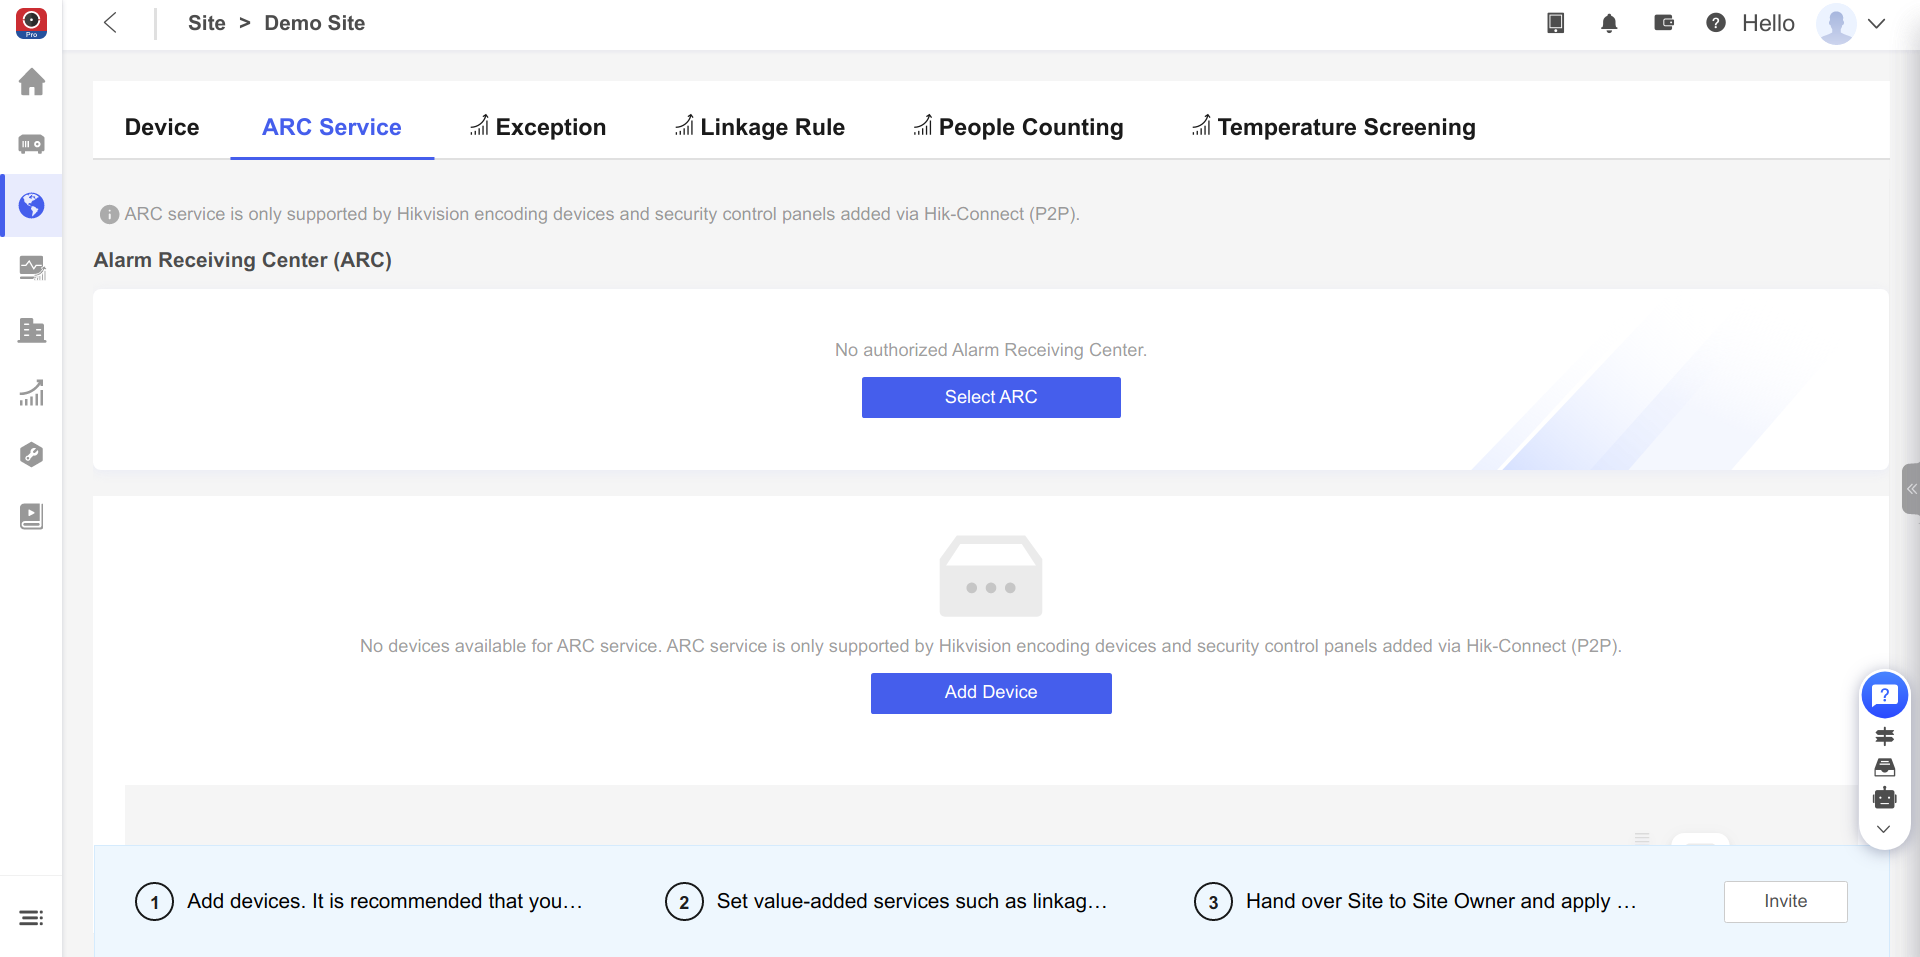
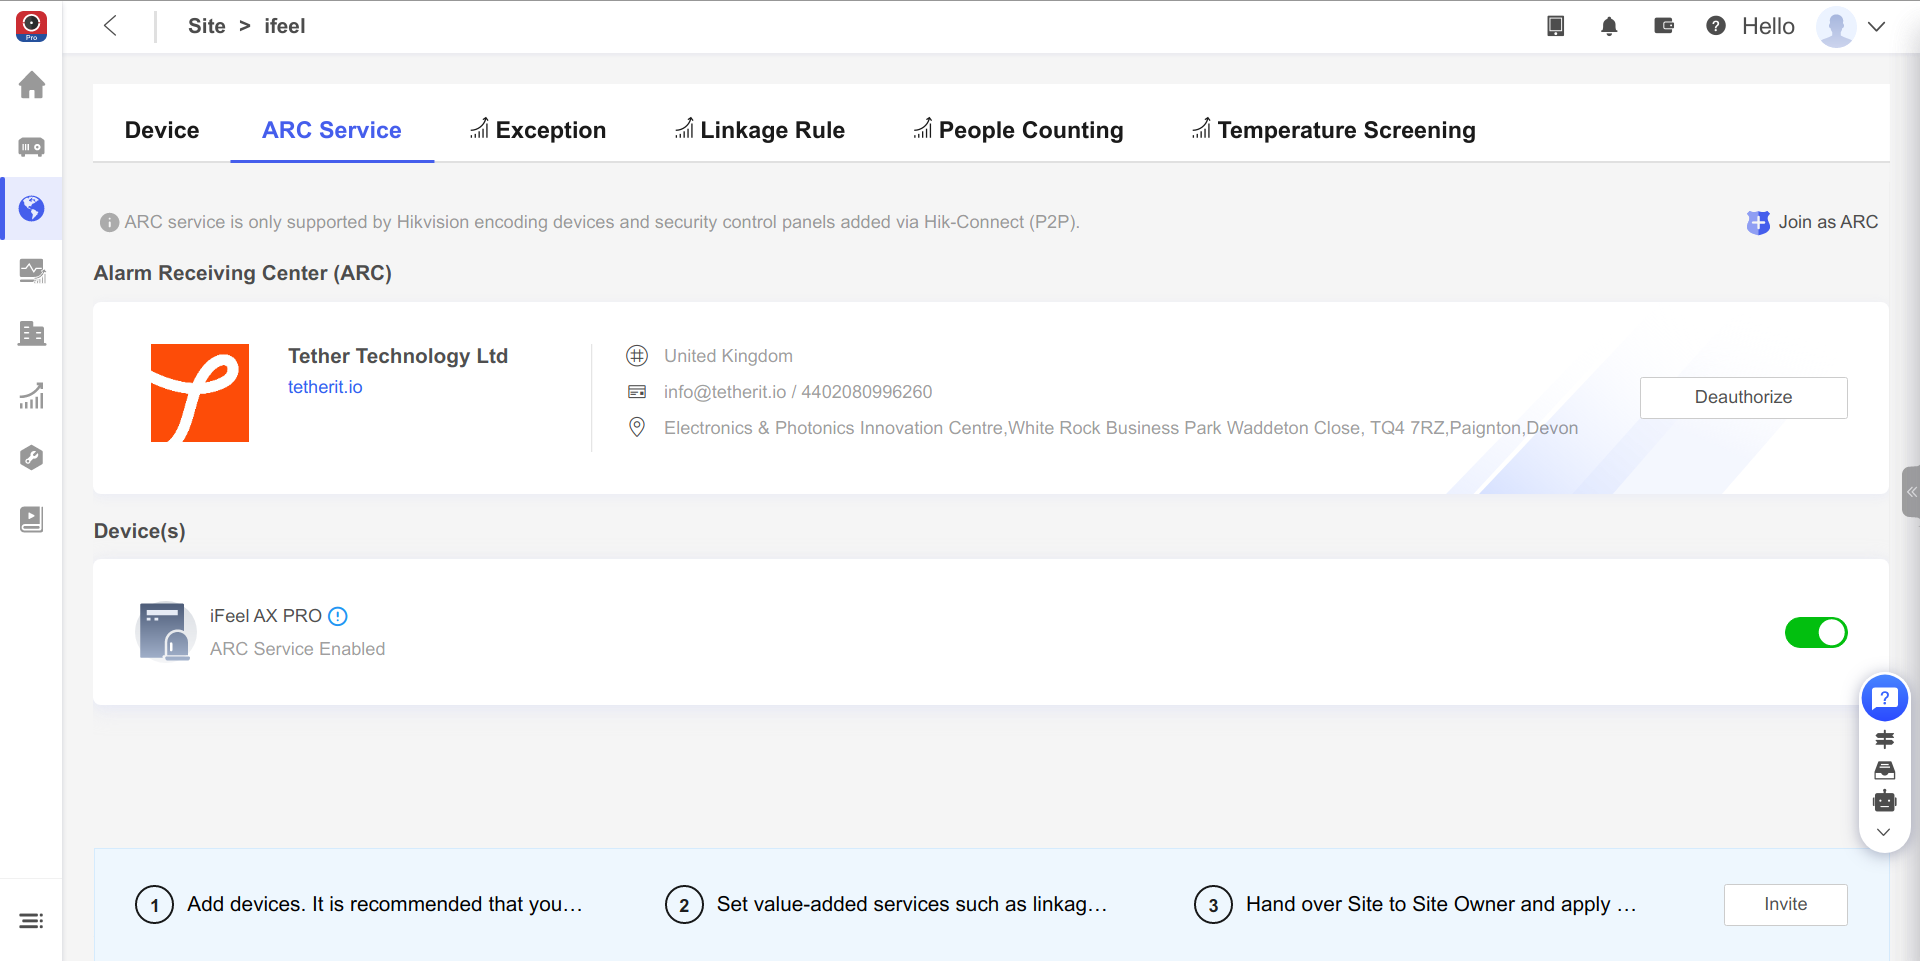
Enable TetherX as ARC
- Go to the ARC Service tab
- Click Select ARC
- Search for and select TetherX Ltd as your ARC provider
- Enable your AX Pro panel to allow alarm data sharing with TetherX
Part 2: Add the Alarm in TetherX
Now add your Hik-ProConnect account to TetherX and link your alarm panel.
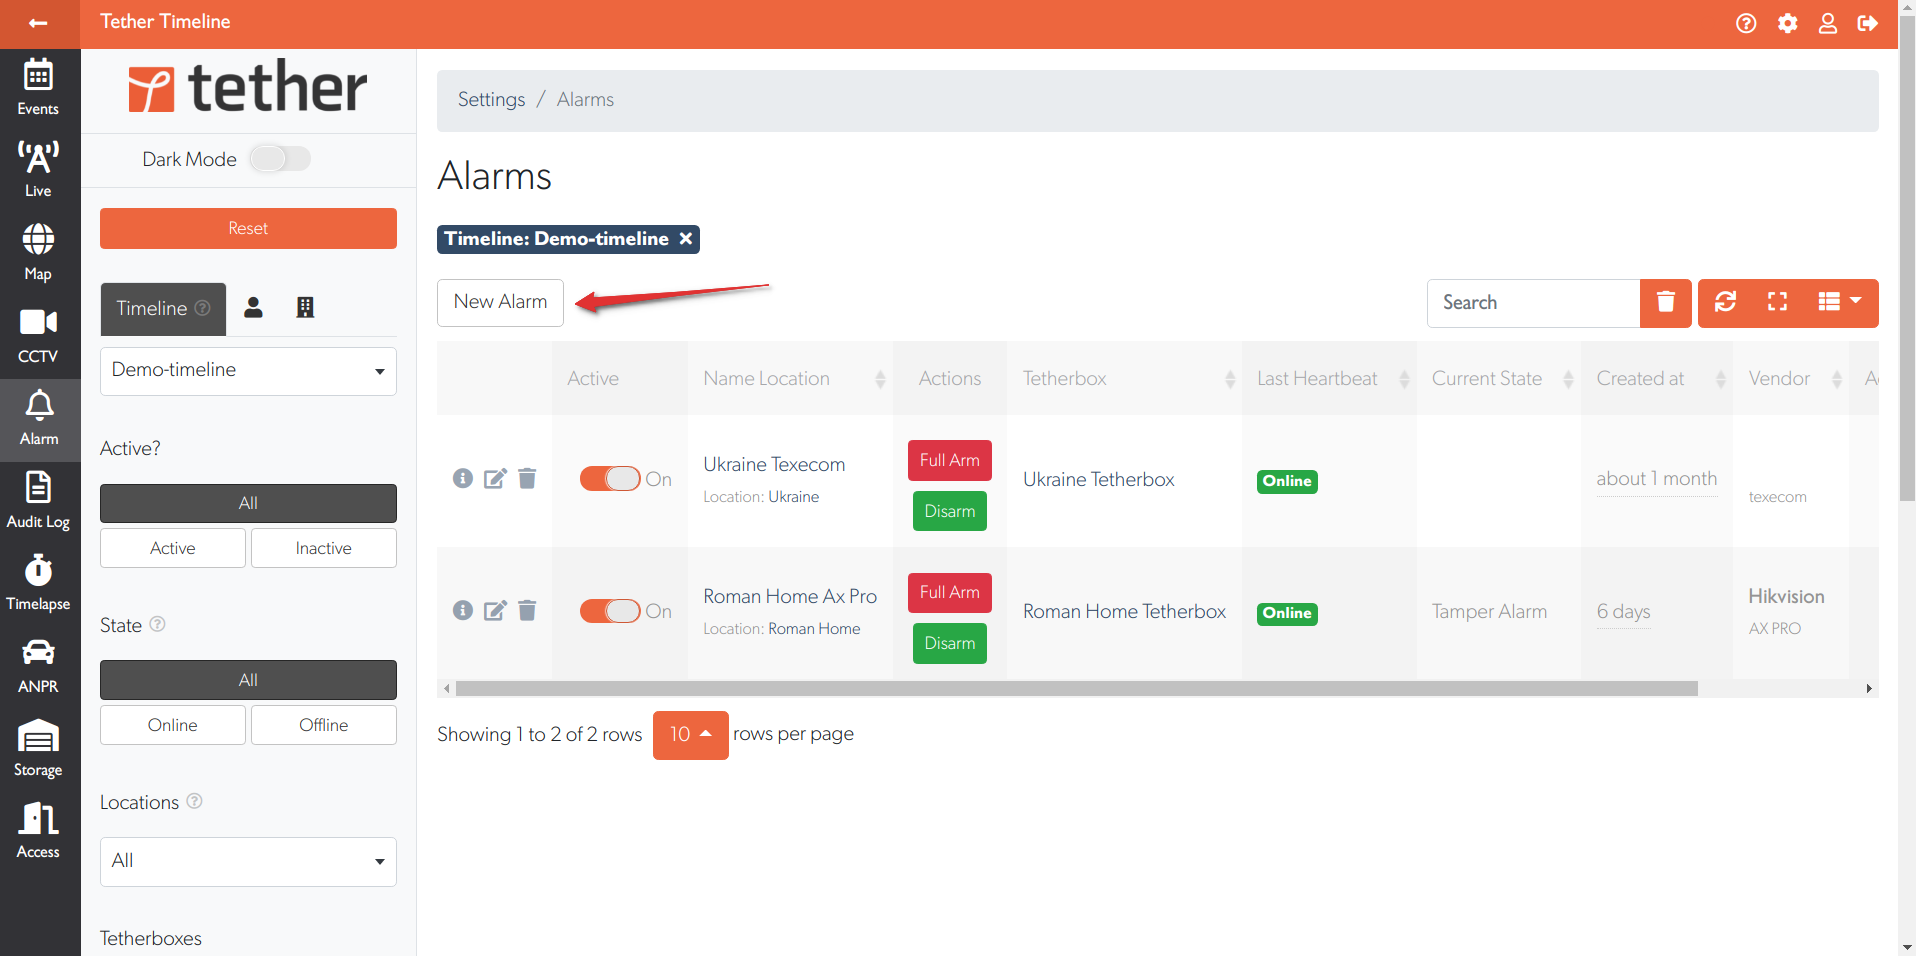
Open the Alarms Page
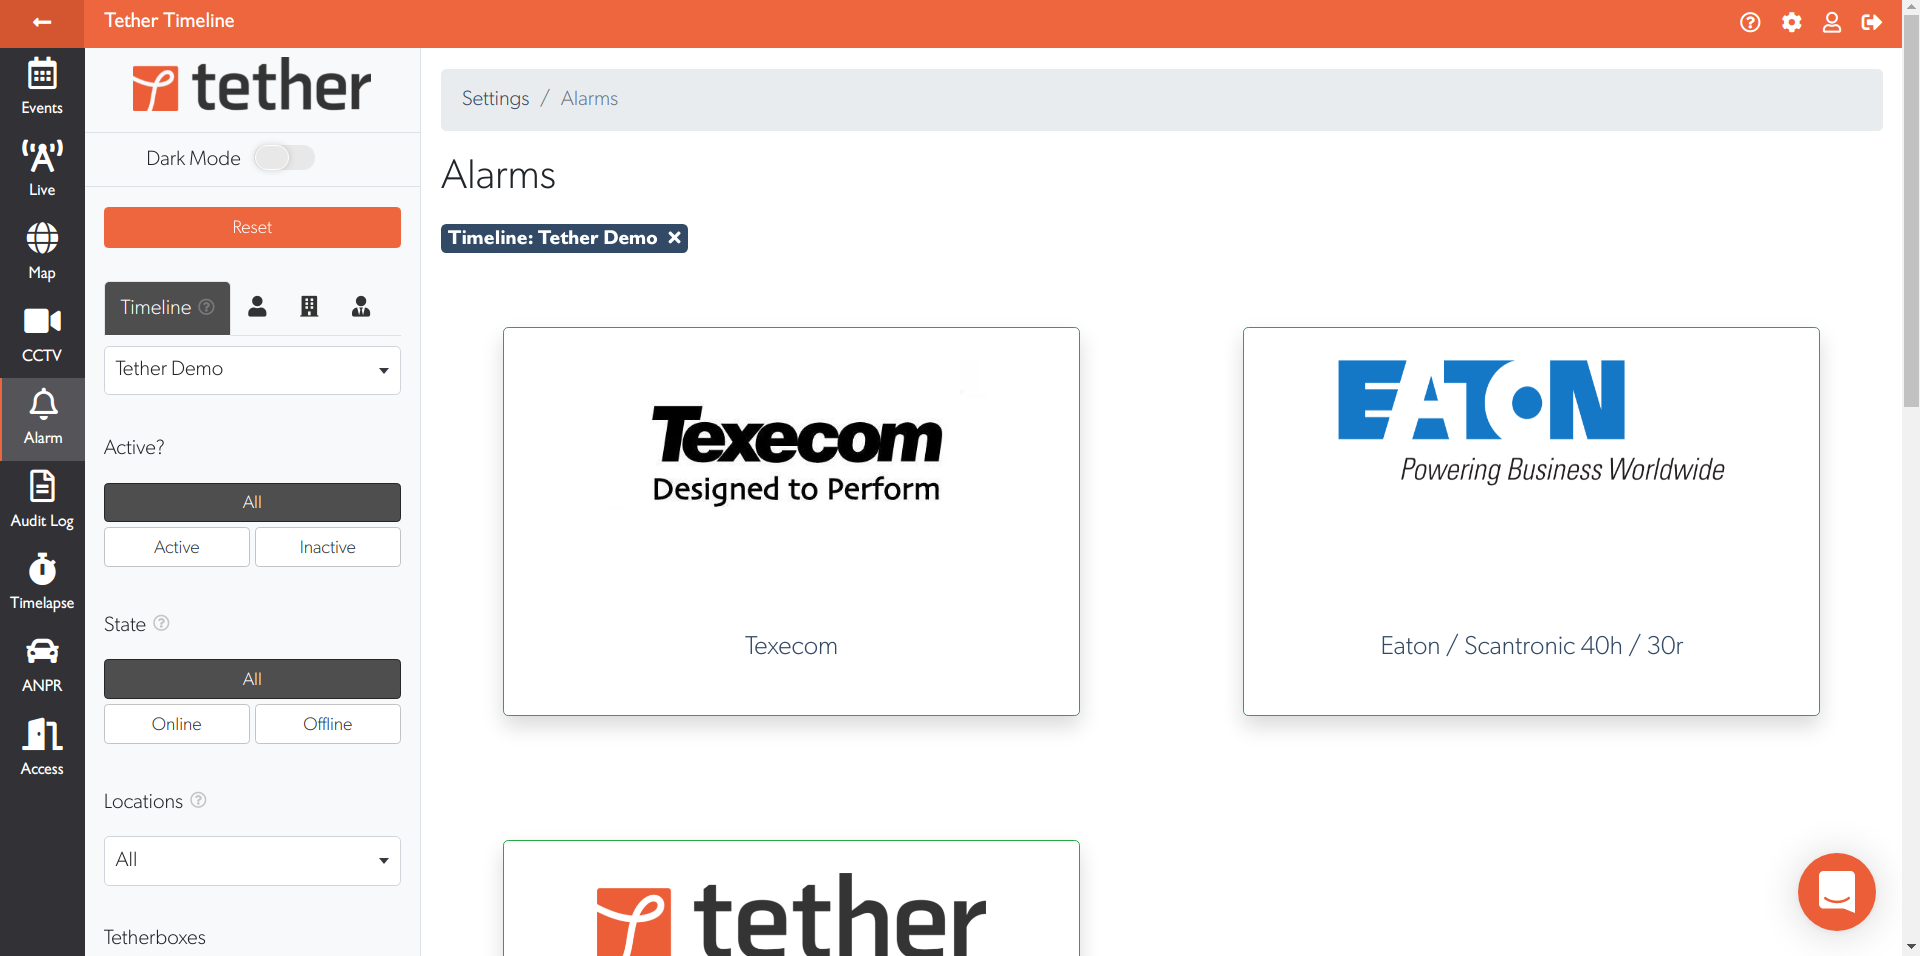
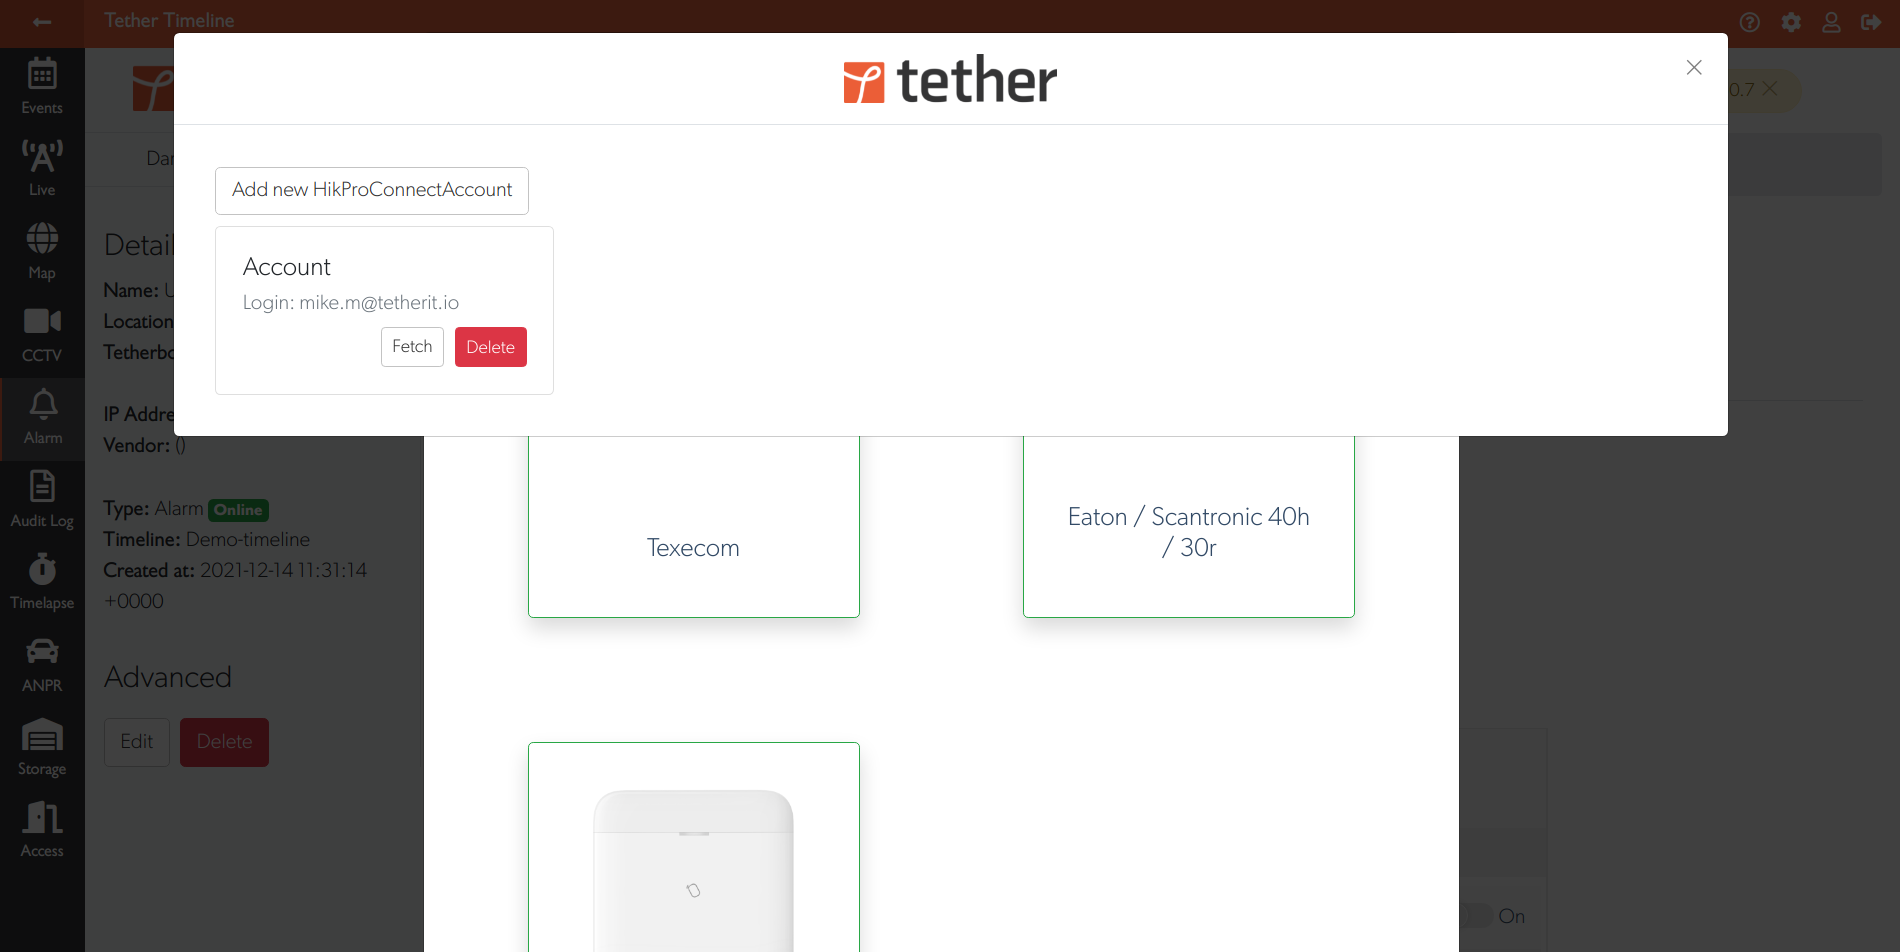
Add a New Alarm
Click the New Alarm button.
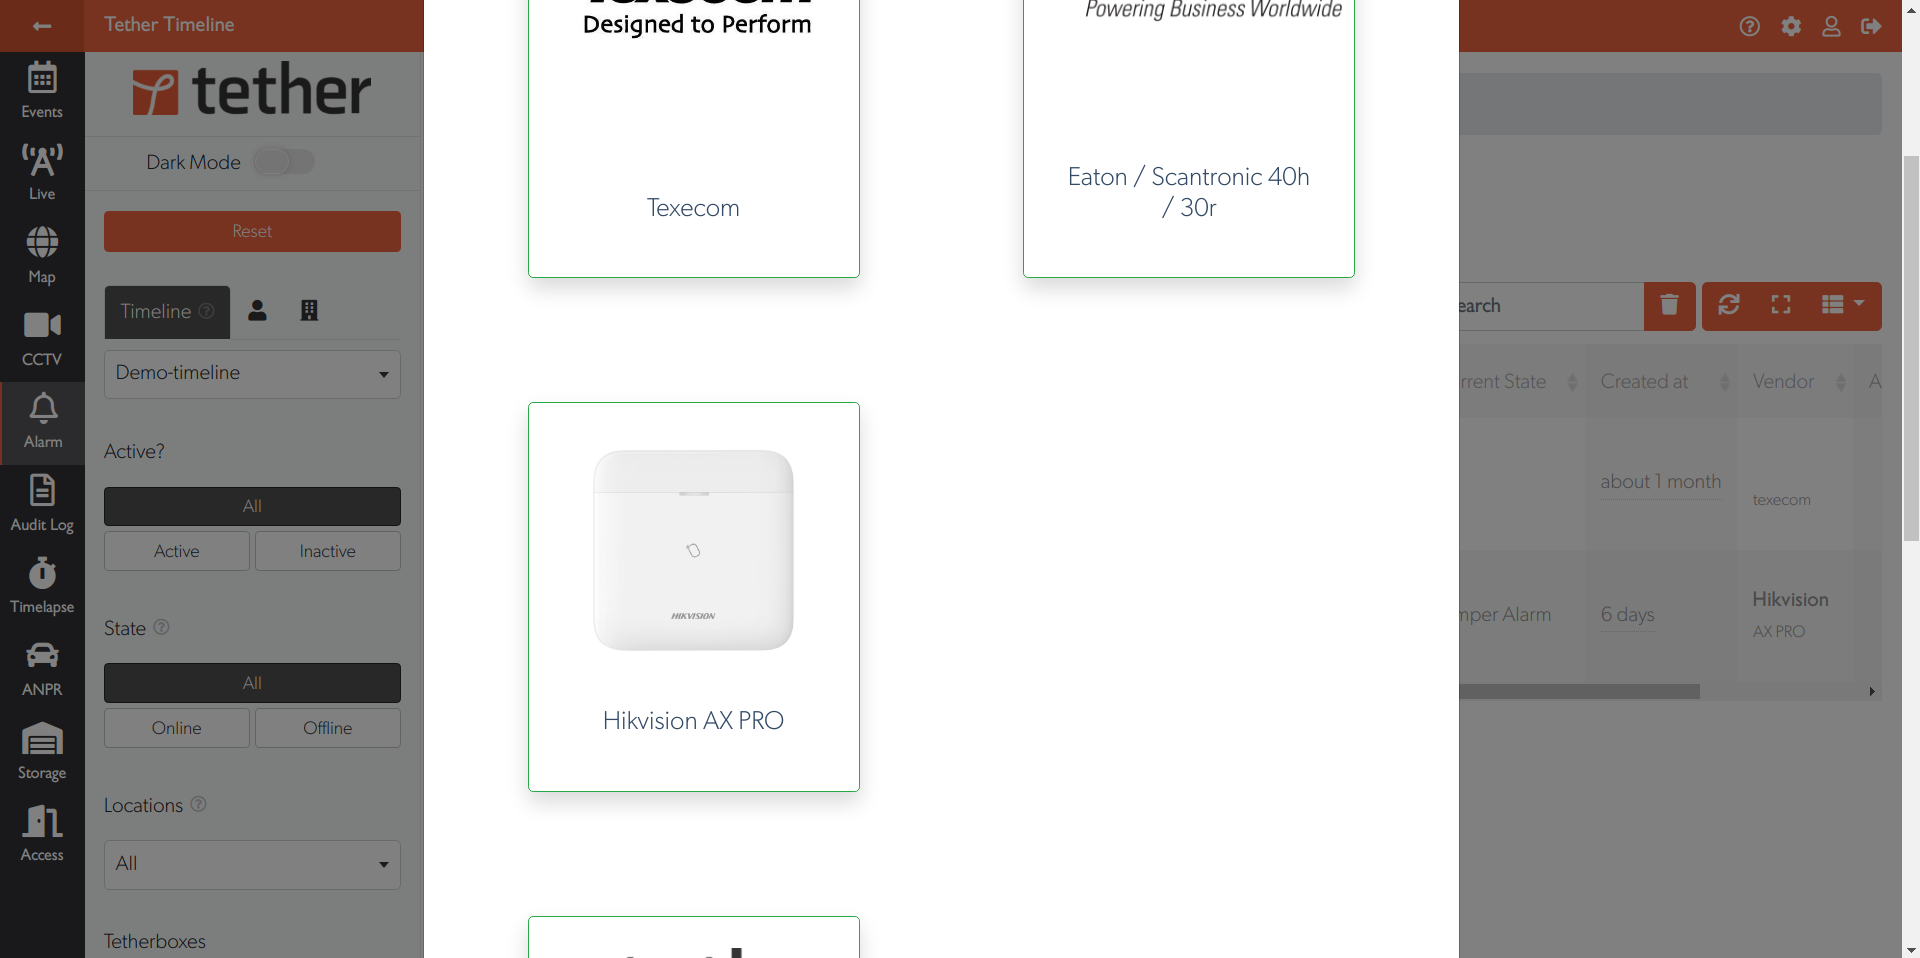
Select Hikvision AX PRO
Choose Hikvision AX PRO from the available alarm types.
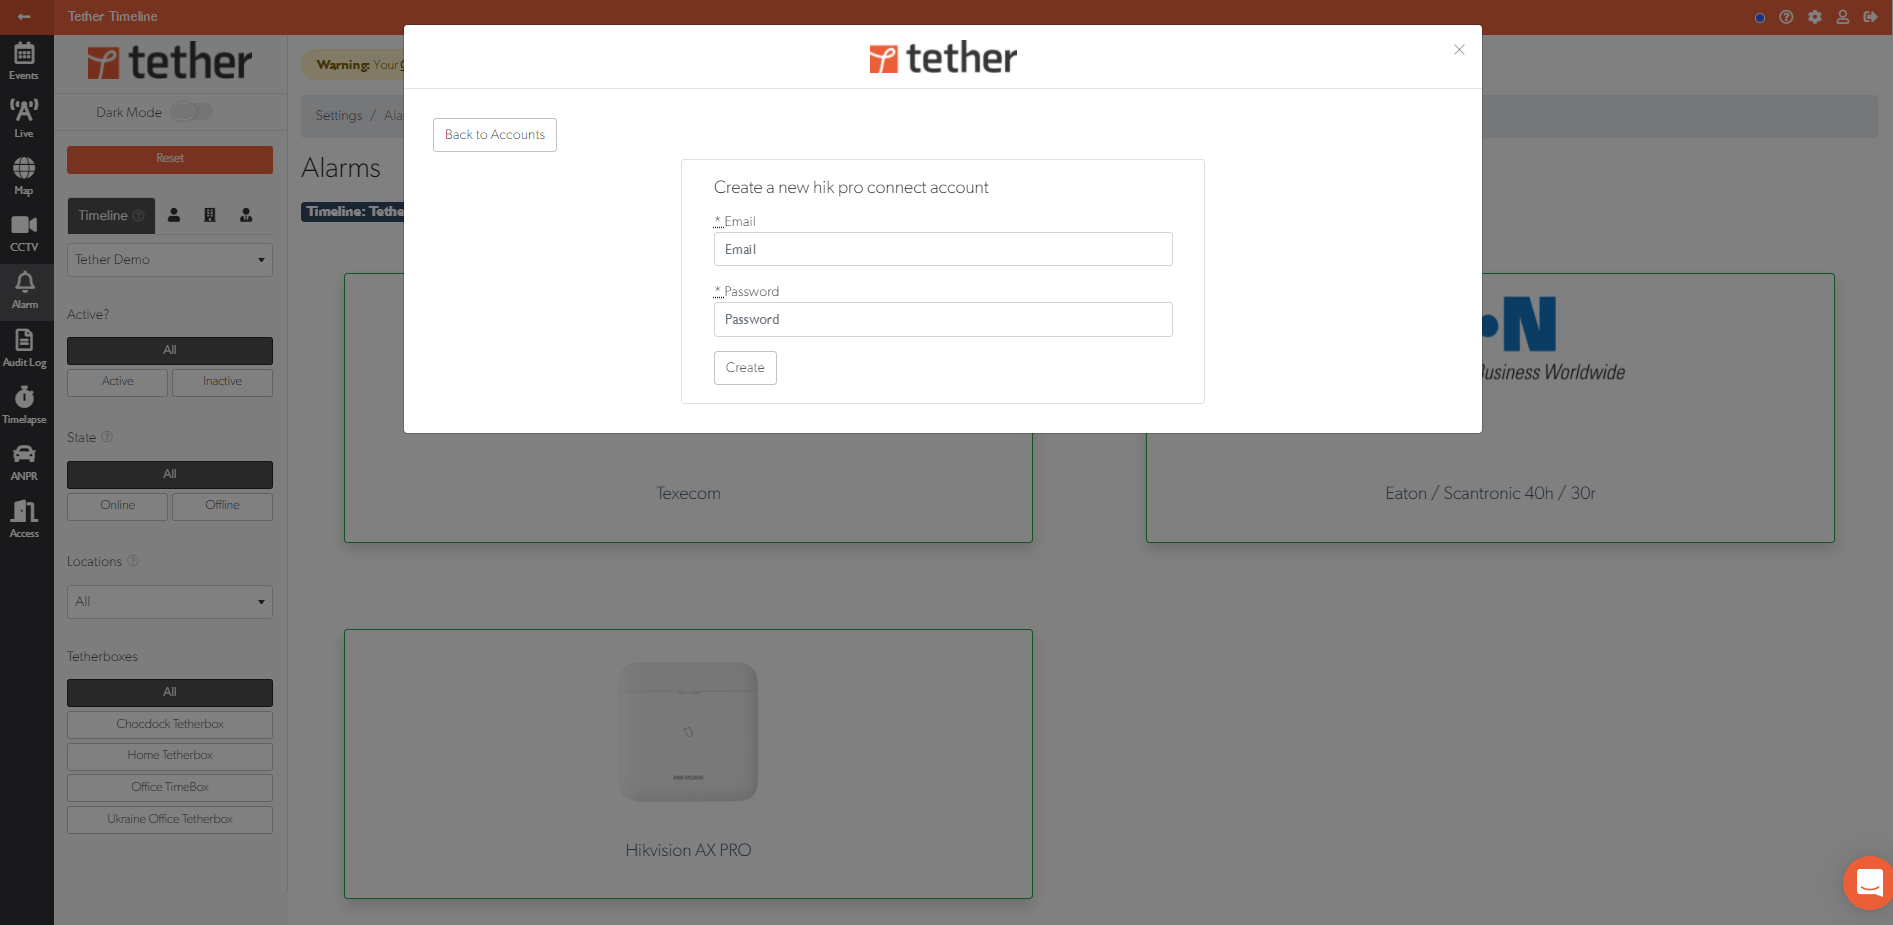
Enter your Hik-ProConnect Credentials
Enter the email and password for your Hik-ProConnect account, then click Create.
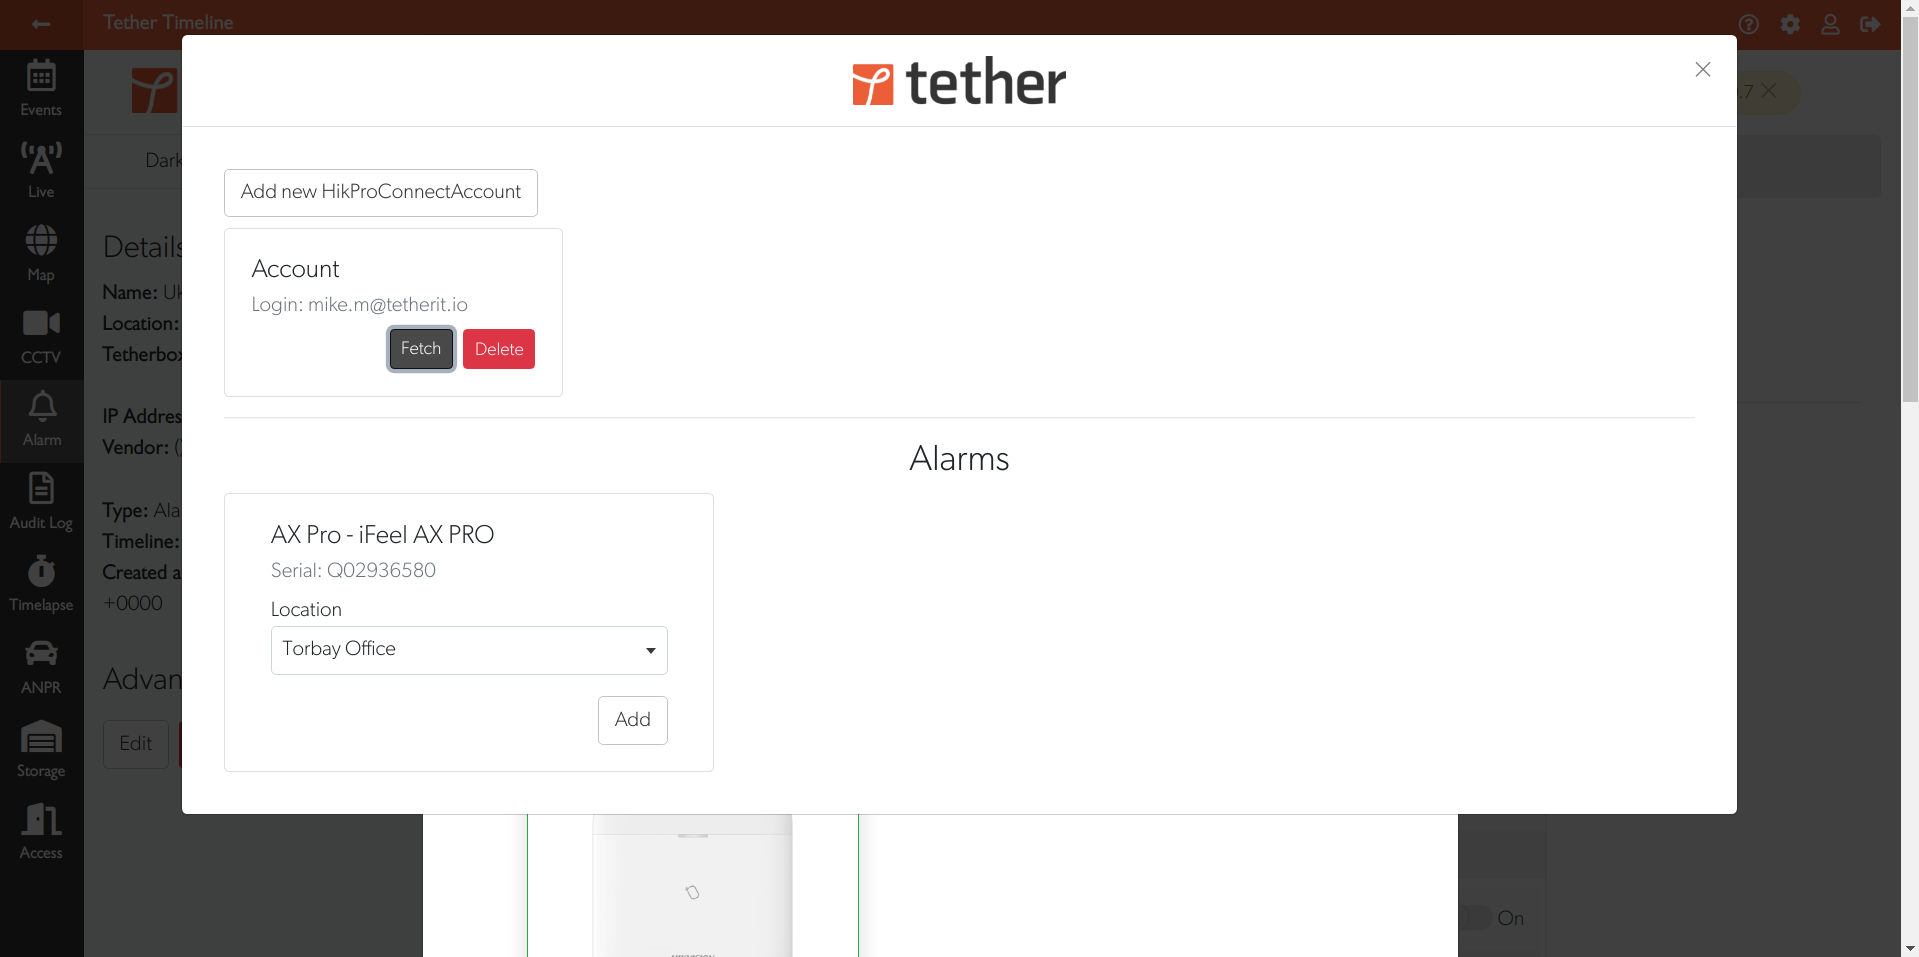
Fetch Available Alarms
Click the Fetch button to retrieve alarms from your Hik-ProConnect account.
Link to a TetherBox
- Use the Site dropdown to select the TetherBox at your site
- Click Add to link the alarm
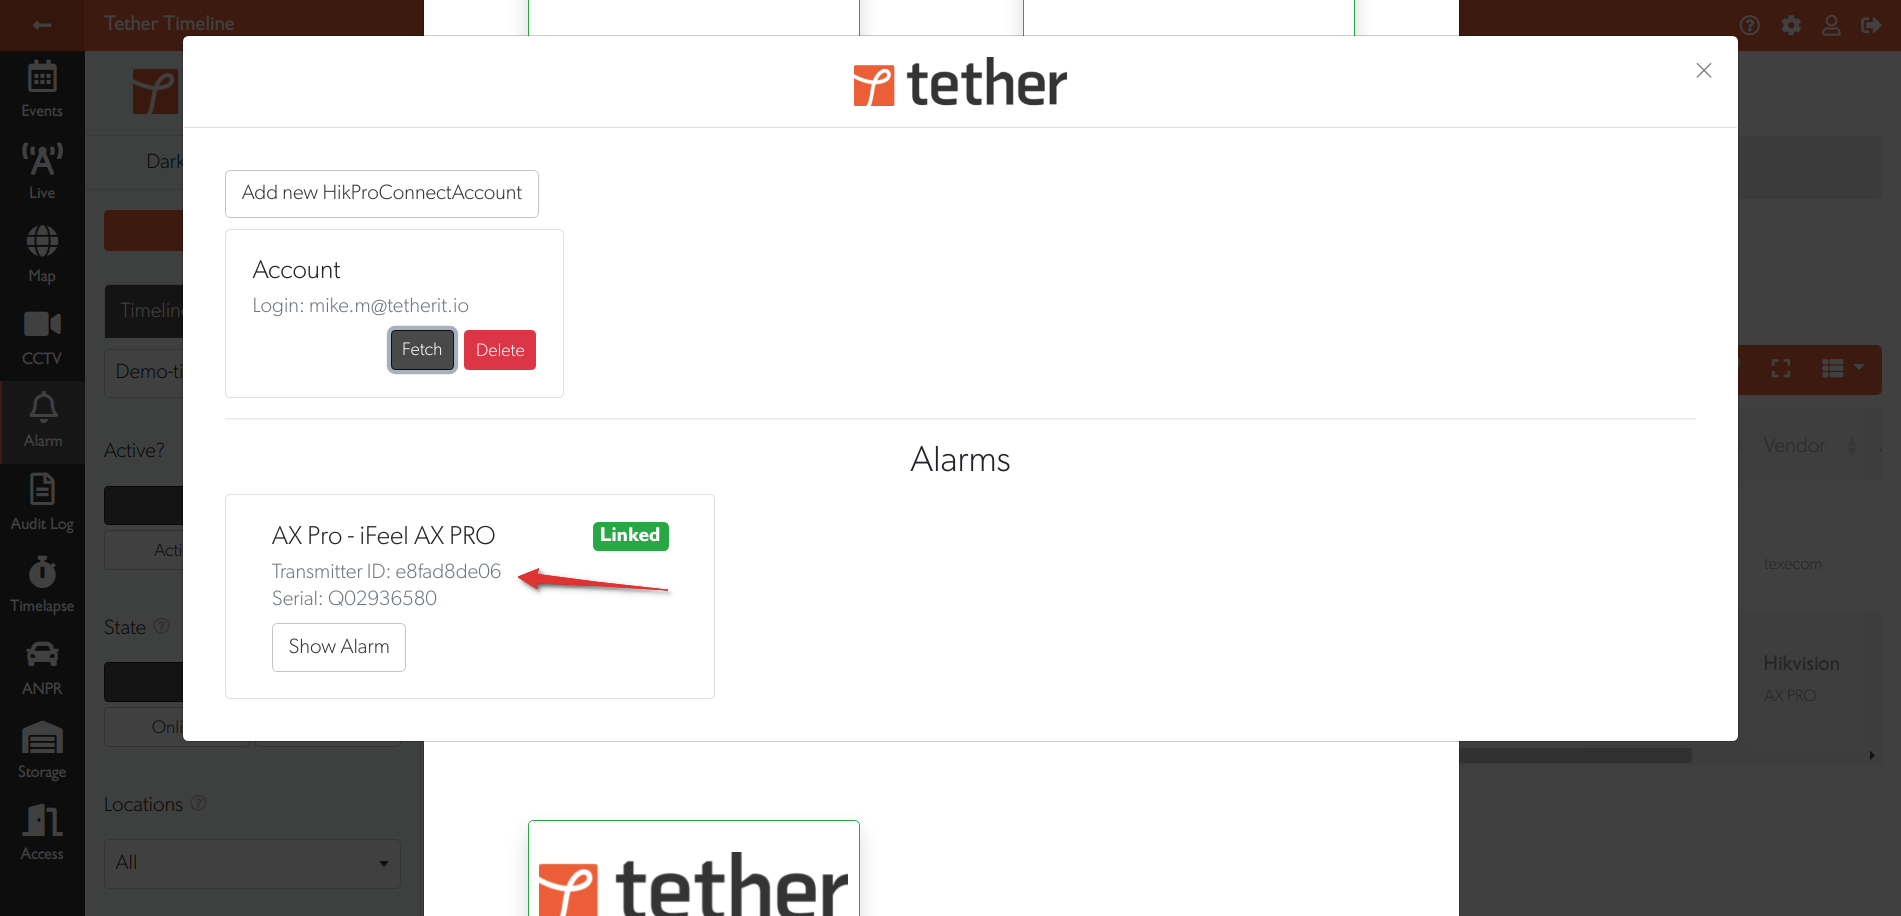
Alarm Linked Successfully
Your alarm is now linked. Note the Transmitter ID shown - you'll need this for the next step if you want real-time alarms.
Click Show Alarm to view and control the panel.
Part 3: Configure Real-Time Alarms (Optional)
Tip: This step is required to receive real-time alarm events from your panel. Without it, you can arm/disarm and see basic status, but won't receive instant alarm notifications.
Access the Panel Web Interface
Create a tunnel to your AX Pro panel using TetherX tunnelling.
Alternatively, if you're on the same network as the panel, enter its IP address directly in your web browser.
Log In
Log in using your Hik-ProConnect credentials.

Configure the Alarm Receiving Centre
Navigate to Communication → Alarm Receiving Centre and configure these settings:
| Setting | Value |
|---|---|
| Enable | On |
| Protocol Type | ADM-CID |
| Address Type | Domain Name |
| Domain Name | timeline.is |
| Port | 2068 |
| Transmission Mode | TCP |
| Impulse Counting Time | 5 |
| Attempts | 3 |
| Account Code | Your Transmitter ID from TetherX |
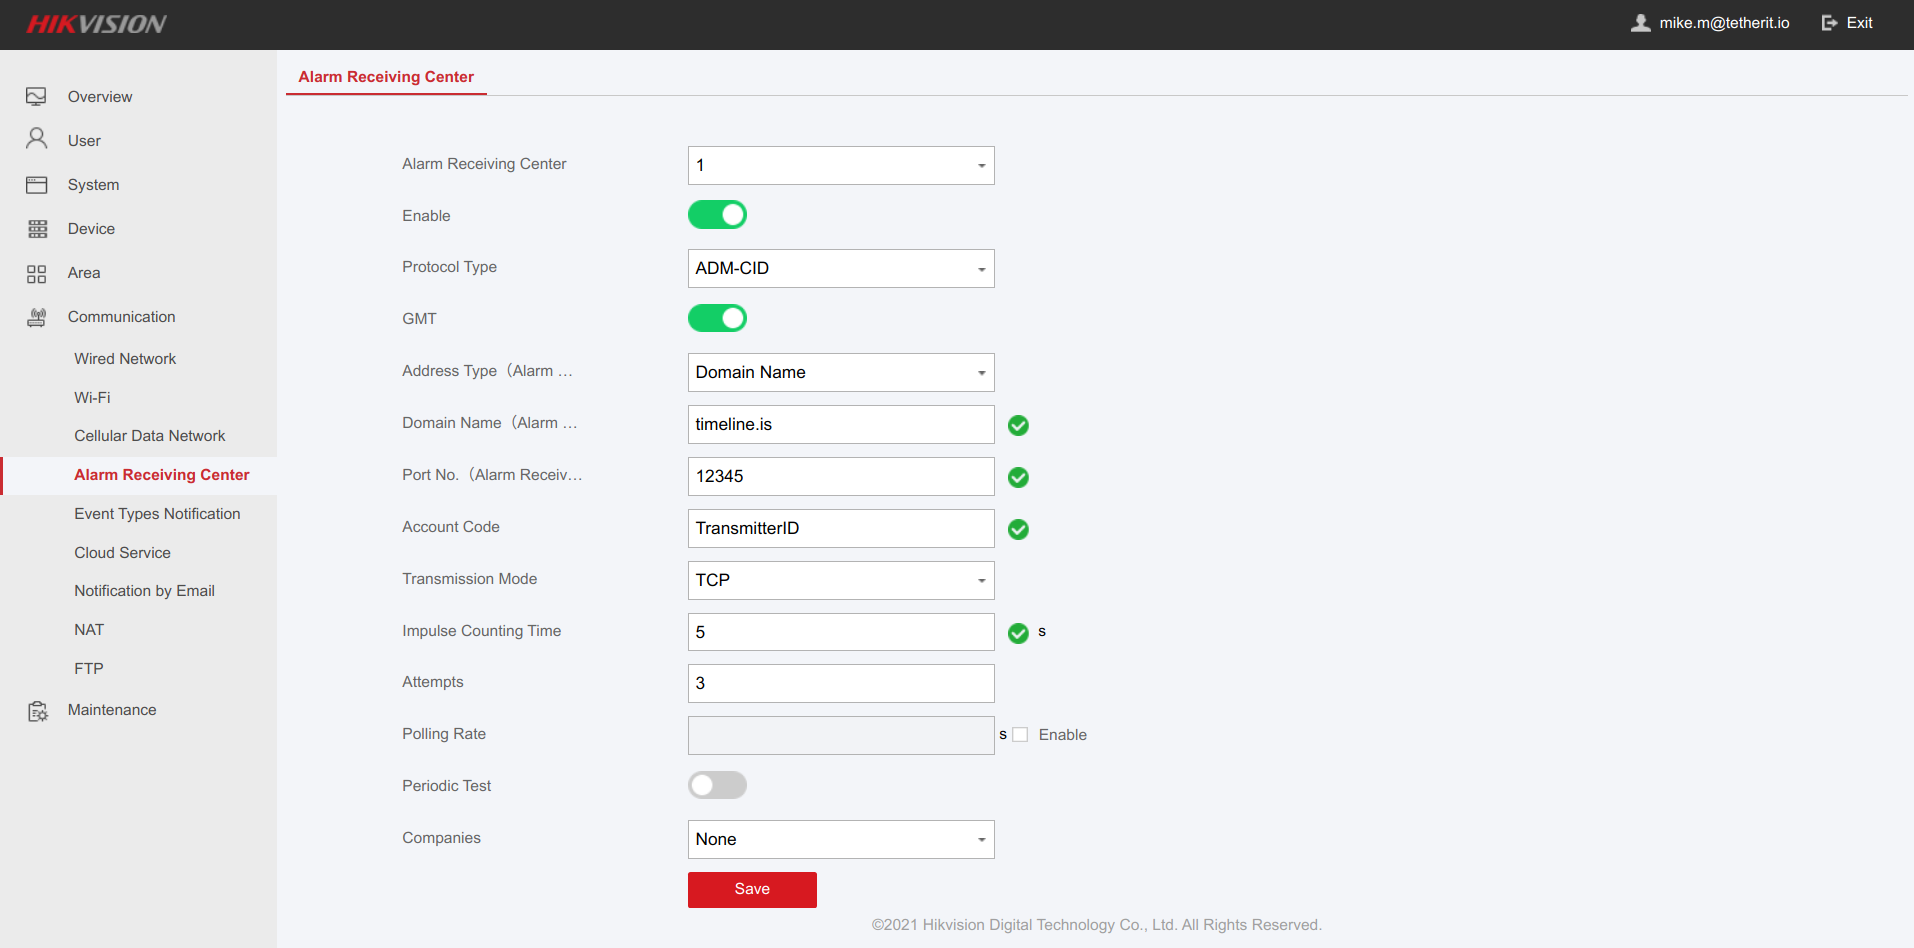
Click Save to apply the settings.
Need Help?
If you have questions or issues, contact our support team.
Related Articles
- Alarm Integration (SIA/ContactID) - Generic SIA/Contact ID alarm integration
- Texecom Integration - Texecom alarm panel integration
- Tunnelling to Network Devices - Remote access to network devices